 The drag and drop upload block allows an instructor to literally drag and drop files directly from a computer desktop into specific course locations. Once a file is deposited into the course, it appears as a resource. Links can also be dragged into the course with the same ease. This new feature in the upgrade will save you a significant amount of time. Below are a few tips to consider and a quick how-to.
Tips
- File size. There is a 20mb limit per file. Video podcasts and audio lectures may need to be placed as links in the course site. Large PowerPoint presentations may need to be saved as a “presentation” and then placed into the course.
- Naming conventions. Rename files before dropping them into Moodle. You also have the option to re-name files once in Moodle.
- Firefox and Google Chrome. The block only works with Firefox 5 and later or Google Chrome.
Activate drag and drop
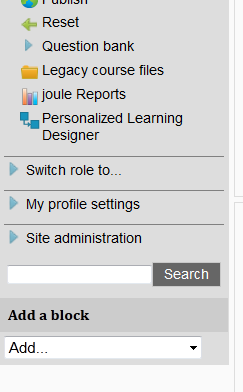
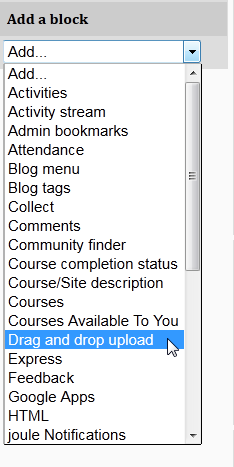
To use drag and drop, you must first add the drag and drop block to your course. To add a block, go to your course page in Moodle. Turn editing on and look at the left-side column. Scroll down till you see “Add a block” and click on “Add.”
Select “Drag and drop upload.”
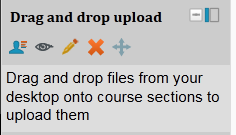
You will then see a new block added to your left-side column. If your browser supports drag and drop, you will see this notification and you can start dragging files onto your course.
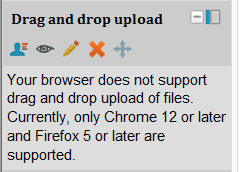
If your browser does not support drag and drop, you will see this note. If you see this message, try using Firefox or Chrome.
 Image by Flickr user Bob Rosenbaum / Creative Commons licensed BY 2.0
Dan Reis also contributed to this post.
 About the author
Cheri Crabb, PhD, Academic Technology Consultant with TLT, has a career in academia focused on instructional design and development using integrated electronic media systems for blended learning.


 Follow