Making the Maker Hub: Printing a 3d printer, Arduino and construction pics
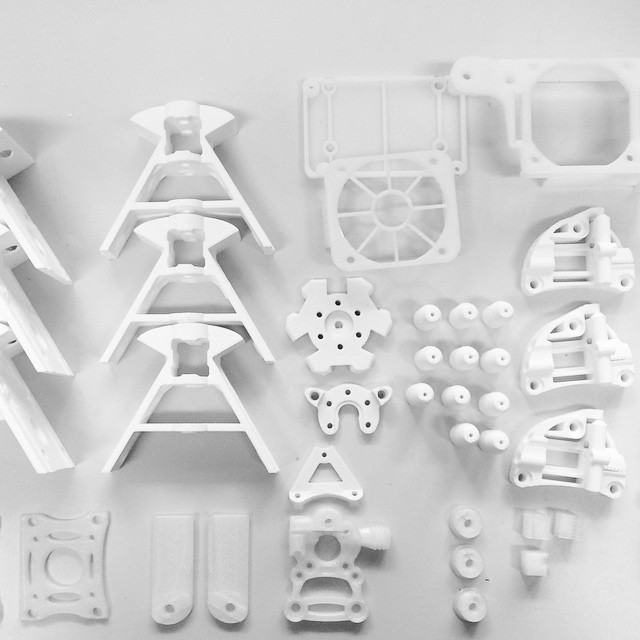
3D printed parts for a new 3D printer!
Editors note: Elon is opening a makerspace, called the Maker Hub, this fall. In preparation, student staff member Connor TeVault is spending the summer testing and configuring equipment that will go into the space. He’s keeping track of quirks and lessons learned in this series of blog posts. Learn more about the Maker Hub on Hub’s website.
It’s been an exiting week to be making at Elon! Check out our brand new ElonMakers Instagram for daily posts about the Maker Hub and things we’ve made! This week read about 3D printing a 3D printer, an Arduino controlled DIY robotic arm, our Custom active cooling solution for Wanhao 4S 3D printer, and more!
RepRap Update
I finally printed out all of the plastic parts for the Griffin Open Source 3D printer I am building, and they look great! The remaining components should be arriving soon and then construction can begin! In the meantime I have been configuring the printer control board, an Arduino Mega 2560 with the RAMPS 1.4 extension. RAMPS is another great example of how the open source nature of the maker community has been able to bring low cost and simple solutions to the field of 3D printing. The RAMPS board is designed to slot directly onto a standard Arduino Mega 2560 via the shield mounting system (an array of matching pins and ports with structural support) and adds stepper motor controllers and other 3D printer specific features. The design for this board is open source and fully documented so that anyone can make changes, make their own, or simply understand more about the device they are using. Another benefit of this board being community developed is the price, now down to around $40!
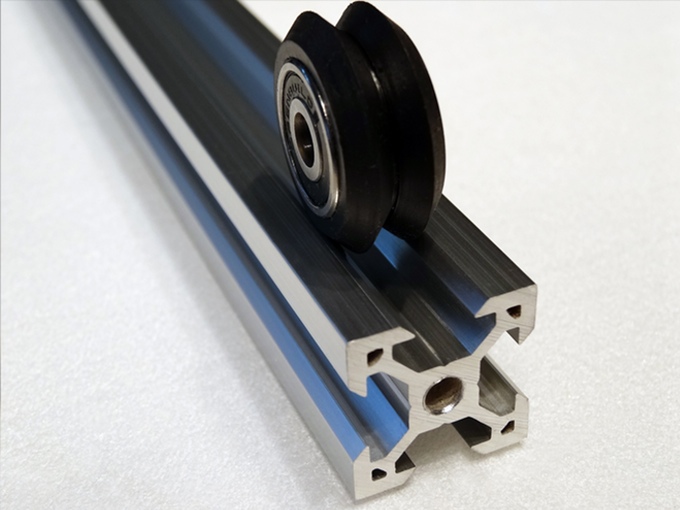
Aluminum V-Slot extrusion with roller wheel
Photo credit: Openbuilds.com
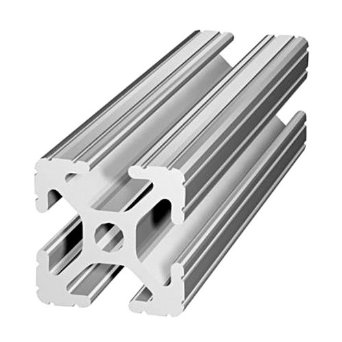
Aluminum T-Slot extrusion. Note the lack of a surface for wheels.
Photo Credit: 80/20.net
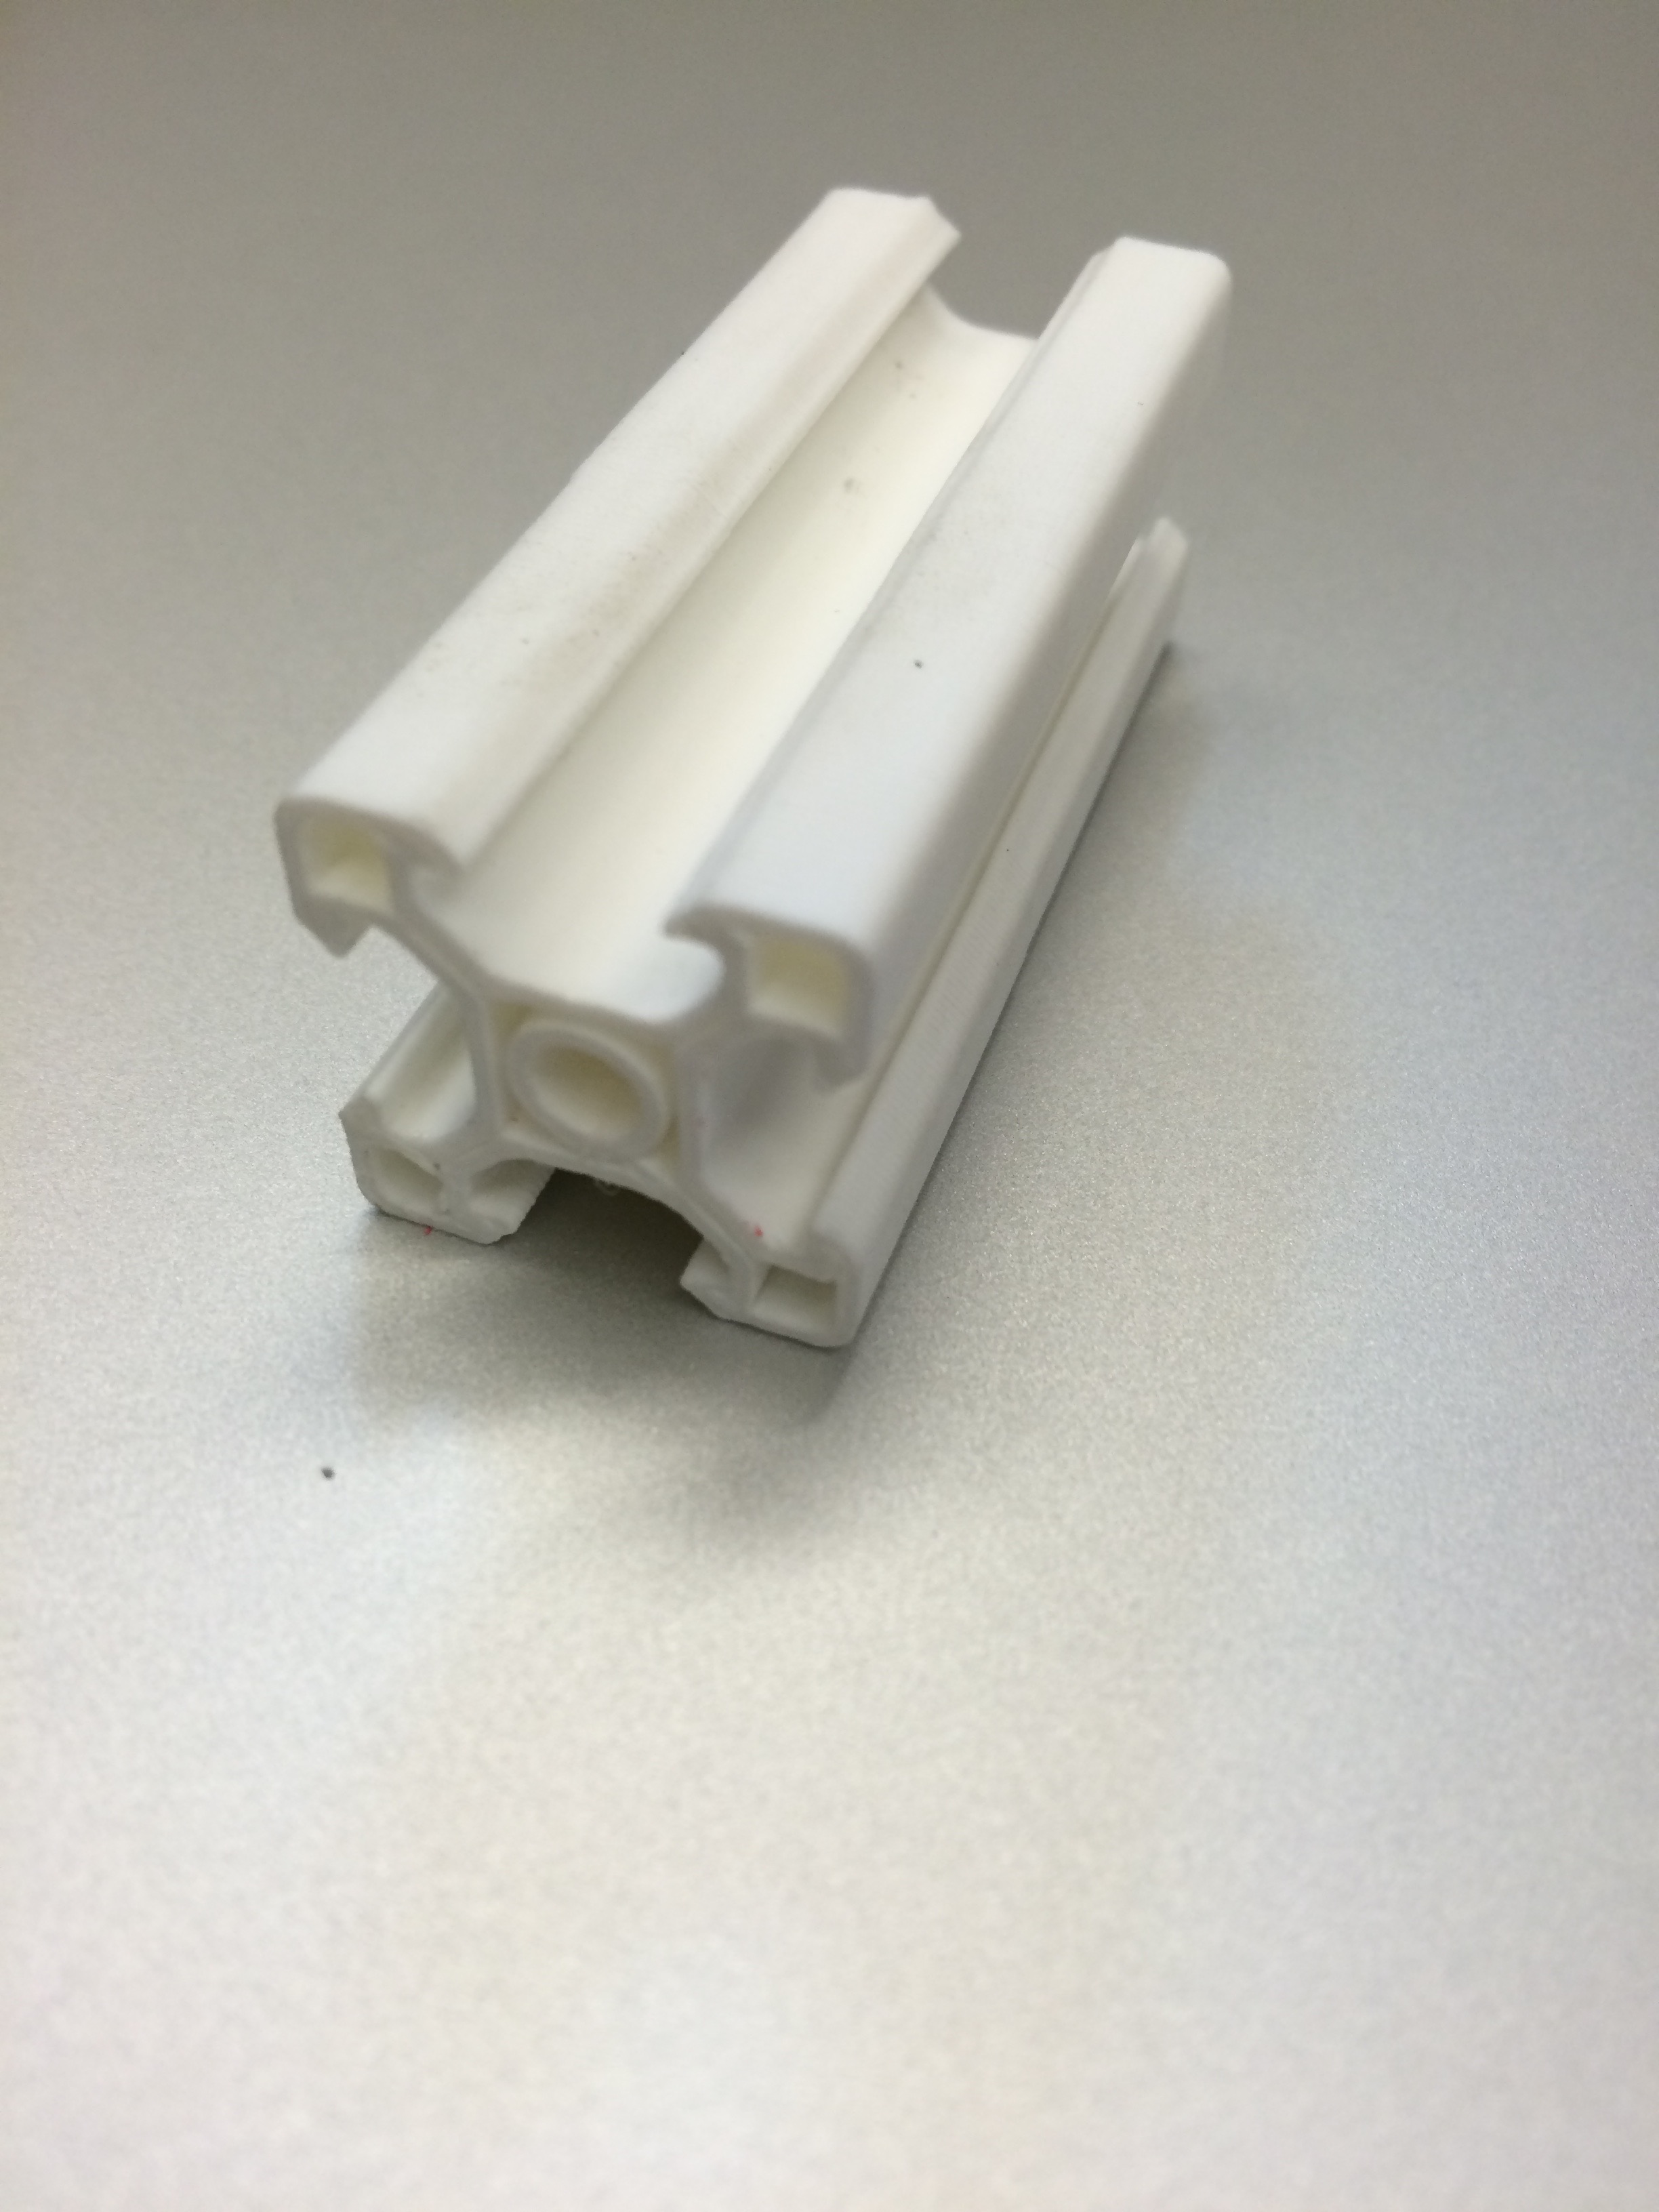
3D printed PLA V-Slot
The main frame of the Griffin is comprised of special aluminum beams called V-Slot. V-Slot was developed by makers as a way to incorporate costly linear motion systems into the frame of a 3D printer or CNC machine, saving cost and reducing complexity. V-Slot is unique thanks to the shape of its profile, which has a V-shaped slot as opposed to traditional aluminum extrusion, which has a T-shaped slot. This V allows for self centering precision roller wheels to ride on the beam, providing an incredibly stable and high precision pathway for linear motion. As an experiment, I modeled and printed a copy of the 2020 (20mm*20mm) aluminum V-Slot extrusions necessary to build this printer. Six 225mm lengths of V-Slot make up the lower and upper frames of the delta printer, and three 500mm lengths make up the sides. The three 500mm beams need to be aluminum to serve as linear rails for the carriages to slide along (aluminum V-Slot is manufactured with extremely high precision to be used with roller wheels), but at $10 per meter it is a worthwhile and fun experiment to play with alternatives to the six 225mm beams. The results were even better than I expected! My printed beams were dimensionally accurate, strong and rigid, and a set of six is printable in under 8 hours! This is very exciting because one of the main goals of RepRap development is to increase the proportion of printed parts per build, and by replacing the aluminum beams with printed PLA copies I will need to purchase 50% less V-Slot to use in my build!!
Swapping PLA for V-Slot brings considerable weight savings as well at only 1.2 g/cm³ compared to aluminum at 2.7 g/cm³. Combined with the fact that the PLA beams are mostly hollow I expect a weight savings of nearly 60% in the frame section, which makes up a significant portion of the total mass. This is important because my goal for this printer is to prioritize portability and ease of handling, two areas where the massive F306 and steel plated Wanhao 4S fall short. This new, small form factor printer will be used by the Maker Hub for demos, marketing, and other events that might benefit from its presence.
3D printed Arduino-controlled robot arm
One of the most exciting things about the Maker Hub is the variety of tools and resources we have at our disposal. The diversity in our offering is one of the things that we hope will allow the Elon Hub to connect makers from all backgrounds by providing a space where they can not only put their knowledge to work, but also explore new and unfamiliar territories. In my opinion, the best way to do this is by offering workshops that promote fusion of the different technologies we have access to.
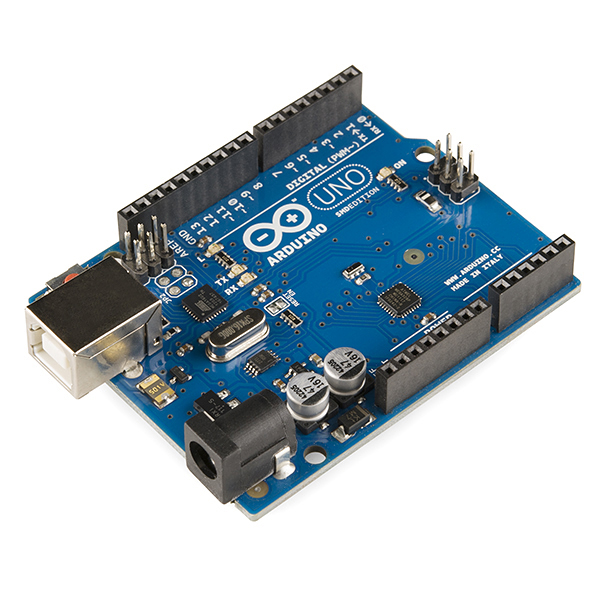
Arduino Uno
Photo Credit: sparkfun.com
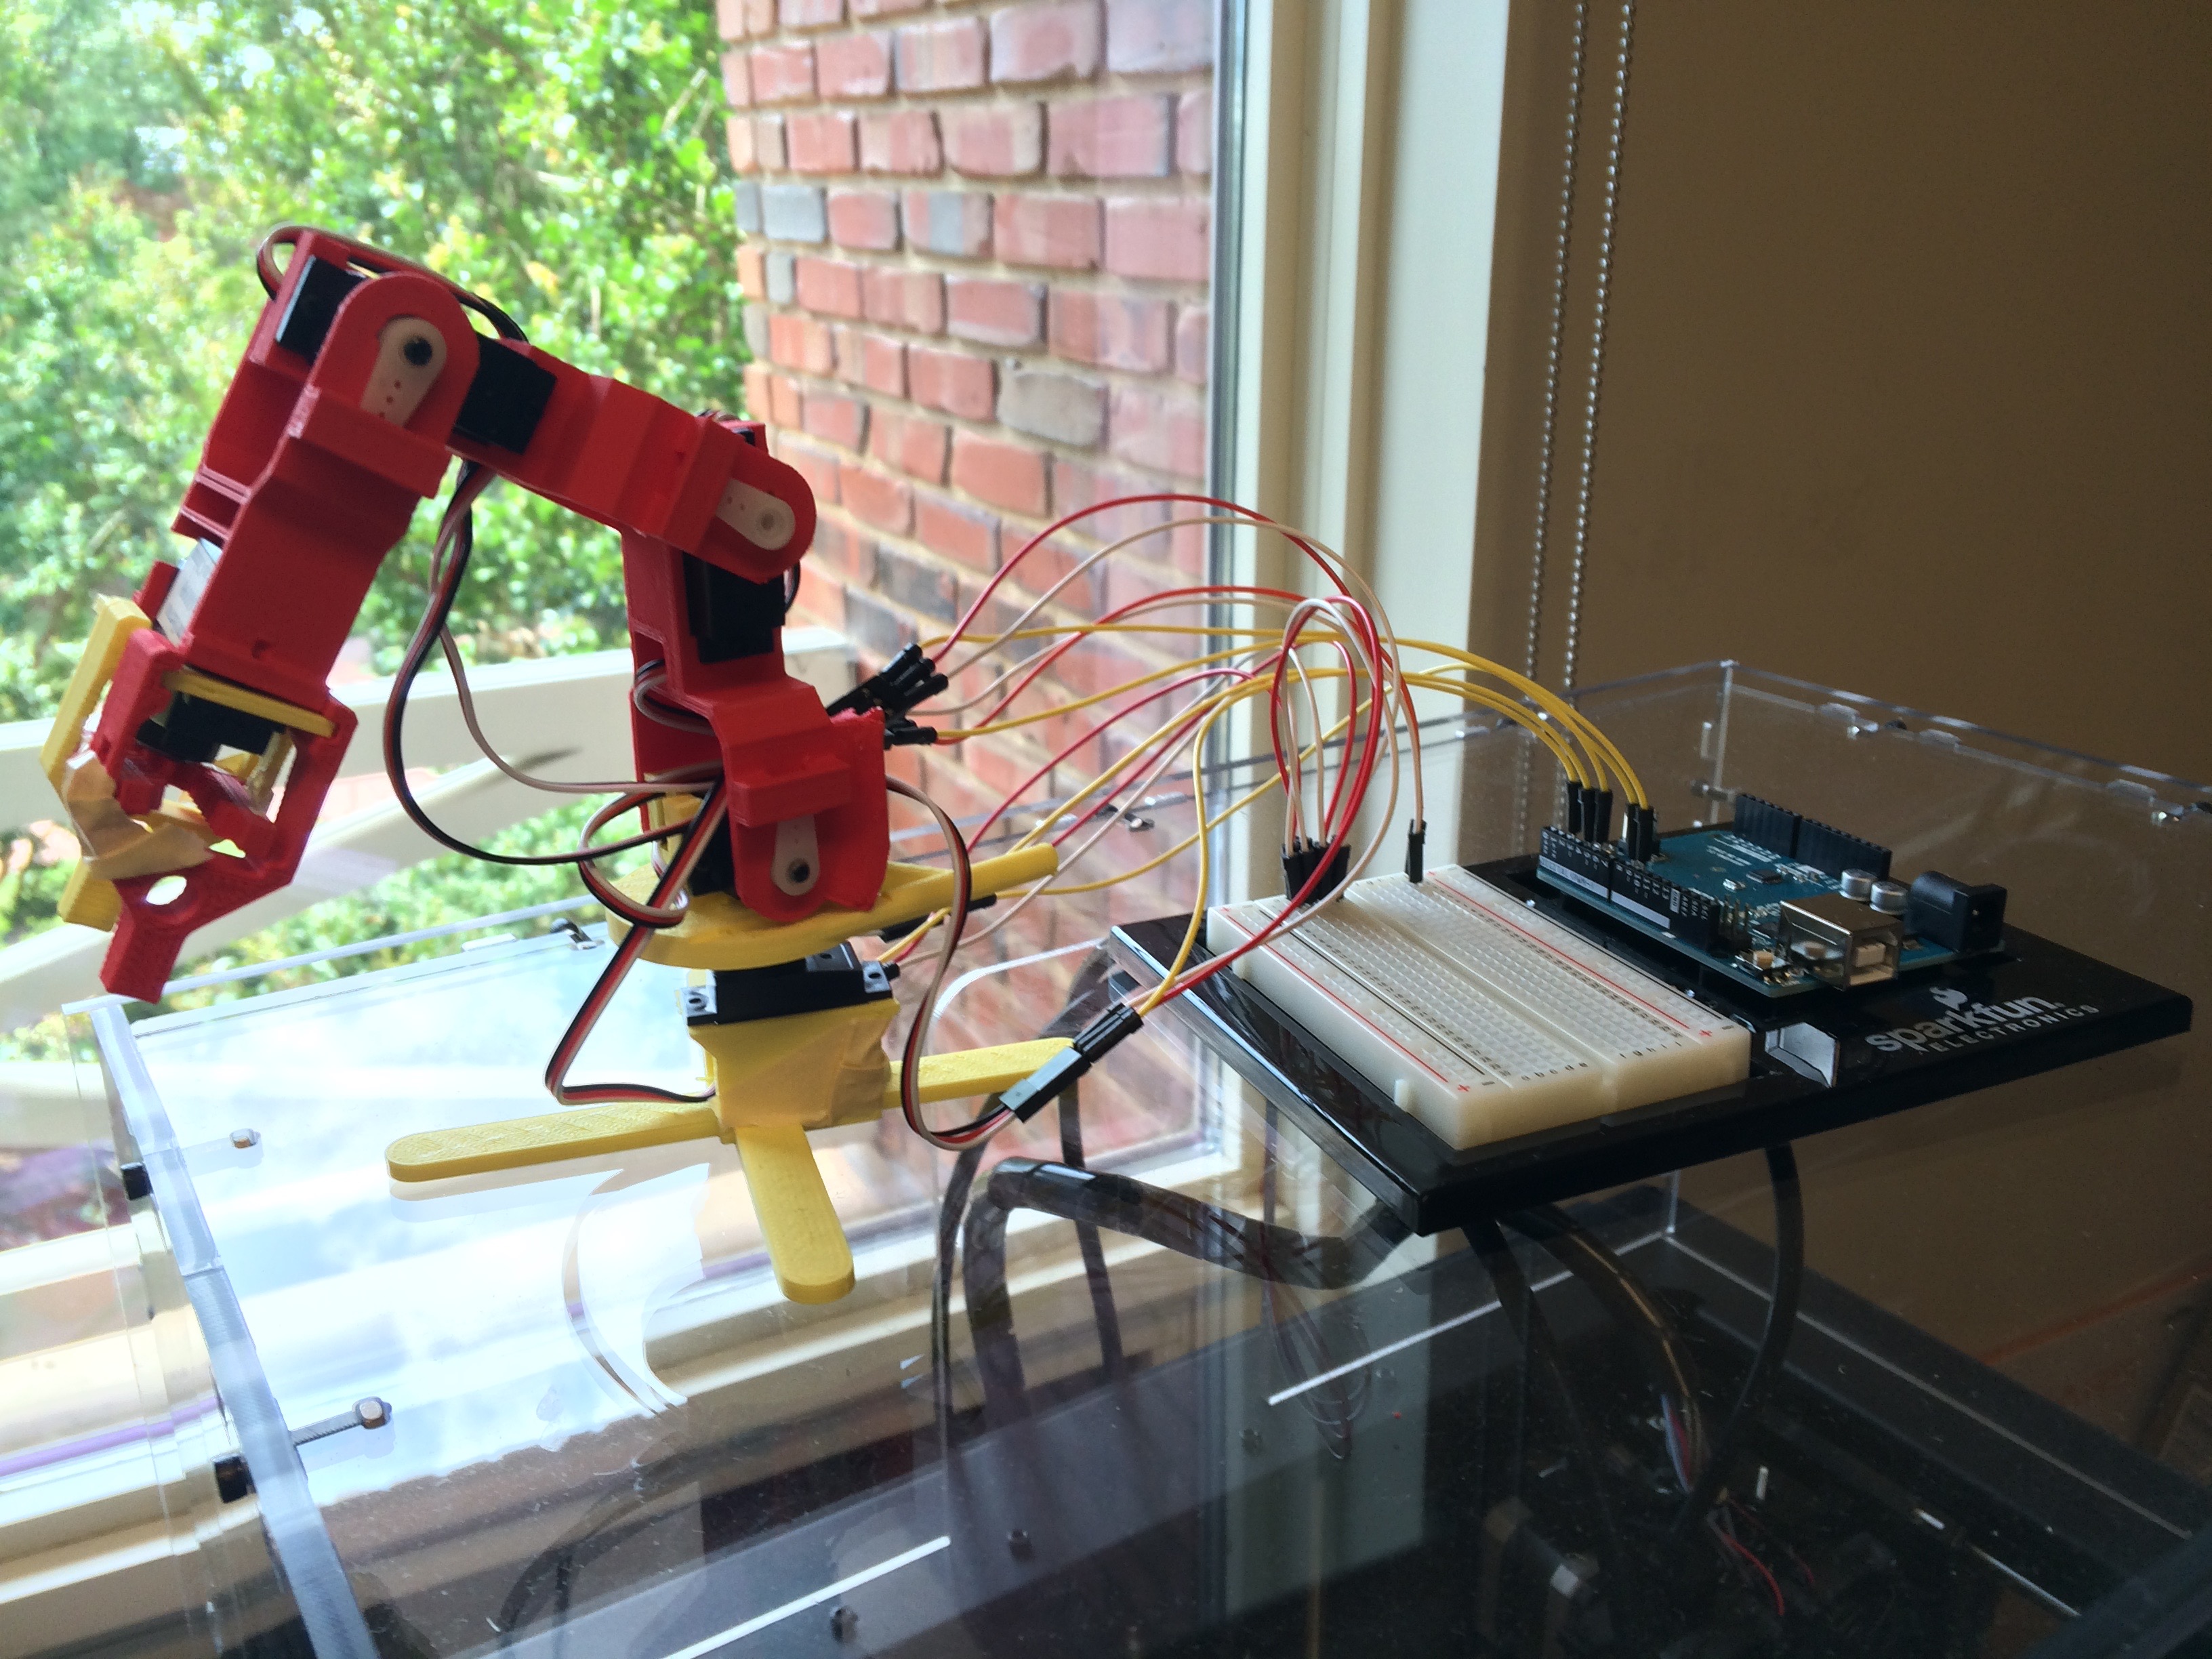
3D printed Arduino controlled arm
To this end, I have been building a robotic arm using 3D printed parts and an Arduino microcontroller. This project incorporates 3D printing, electronics, and hardware oriented programming skills, making it a great showcase of some of our most interesting technologies. If all goes well I will be developing a workshop or self paced activity centered around the construction and programming of this robot.
We are still working on developing these workshops, so if you have any ideas please let us know in the comments!
Cooling troubleshooting on the Wanhao
Most modern 3D printers use either PLA (polylactic acid) or ABS (acrylonitrile butadiene styrene) as the primary plastic for printing. ABS is stronger and more resilient, but also weighs more and is challenging to print due to its propensity to warp. Because ABS shrinks by up to 20% when cooling it is imperative that the print surface be heated to around 110° C. ABS prints can be made easier by using a sealed build chamber that keeps the surrounding temperature high enough that the parts being printed don’t shrink until after they are done. PLA is slightly weaker and more brittle, making it less durable. However, PLA is much easier to print than ABS, requiring no heated build platform (although if you have one installed heating it to 50-60° C can improve adhesion) and exhibiting no shrinking or warping. This has lead to PLA becoming the preferred plastic for consumer level printers in the past few years. The only caveat is a result of the same low glass transition temperature that makes PLA so easy to use in the first place. Because it becomes malleable at such (relatively) low temperatures, PLA often does not have time to cool before the printhead returns to add another layer. This results in mushy, poorly defined prints that can range from less than ideal to useless and unrecognizable. Luckily, there is a simple solution! Cooling the PLA immediately after it leaves the nozzle by way of a hot end (the heated nozzle that the plastic comes out of) mounted fan eliminates this issue entirely. Most manufacturers have begun to include a hot end fan (the F306 has a ducted blower fan for cooling) but this is a feature the Wanhao 4S lacks. Thankfully the community has stepped in and provided an excellent solution in the form of a 3D printable fan attachment. I will be installing one of these on the Wanhao shortly, so check back next week to see before and after prints!
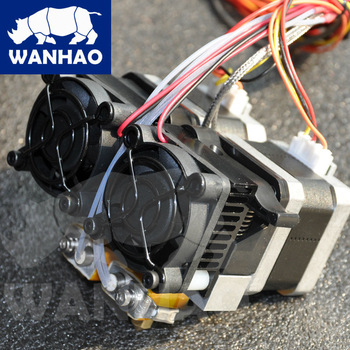
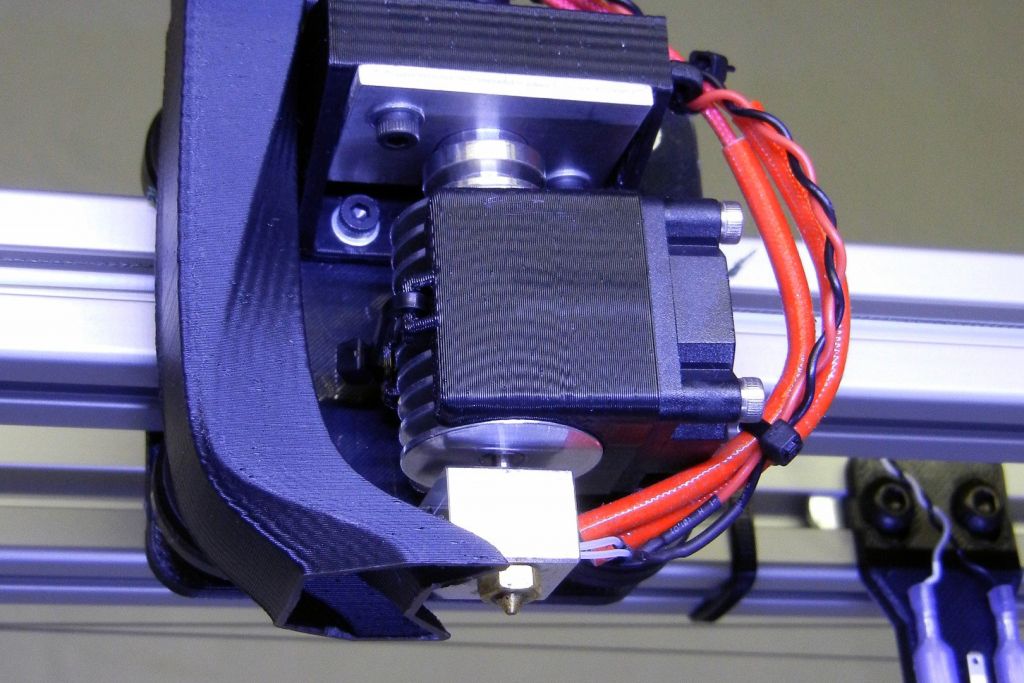
Wanhao 4S extruder (the fans are for cooling the hot end itself and do not cool the print)
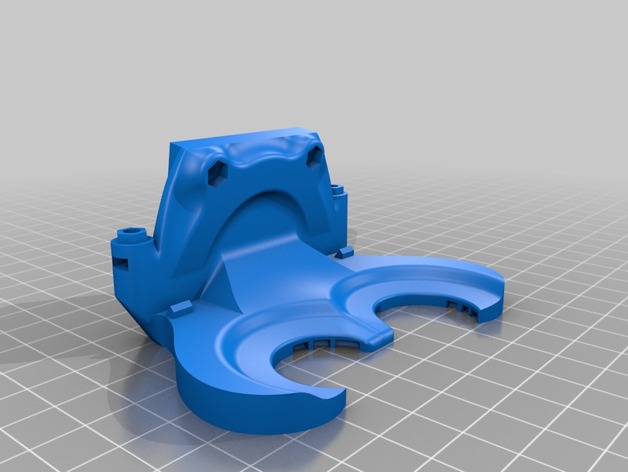
3D model of a fan duct for the Wanhao 4S
F306 Hot end. Note the duct directing airflow onto the print
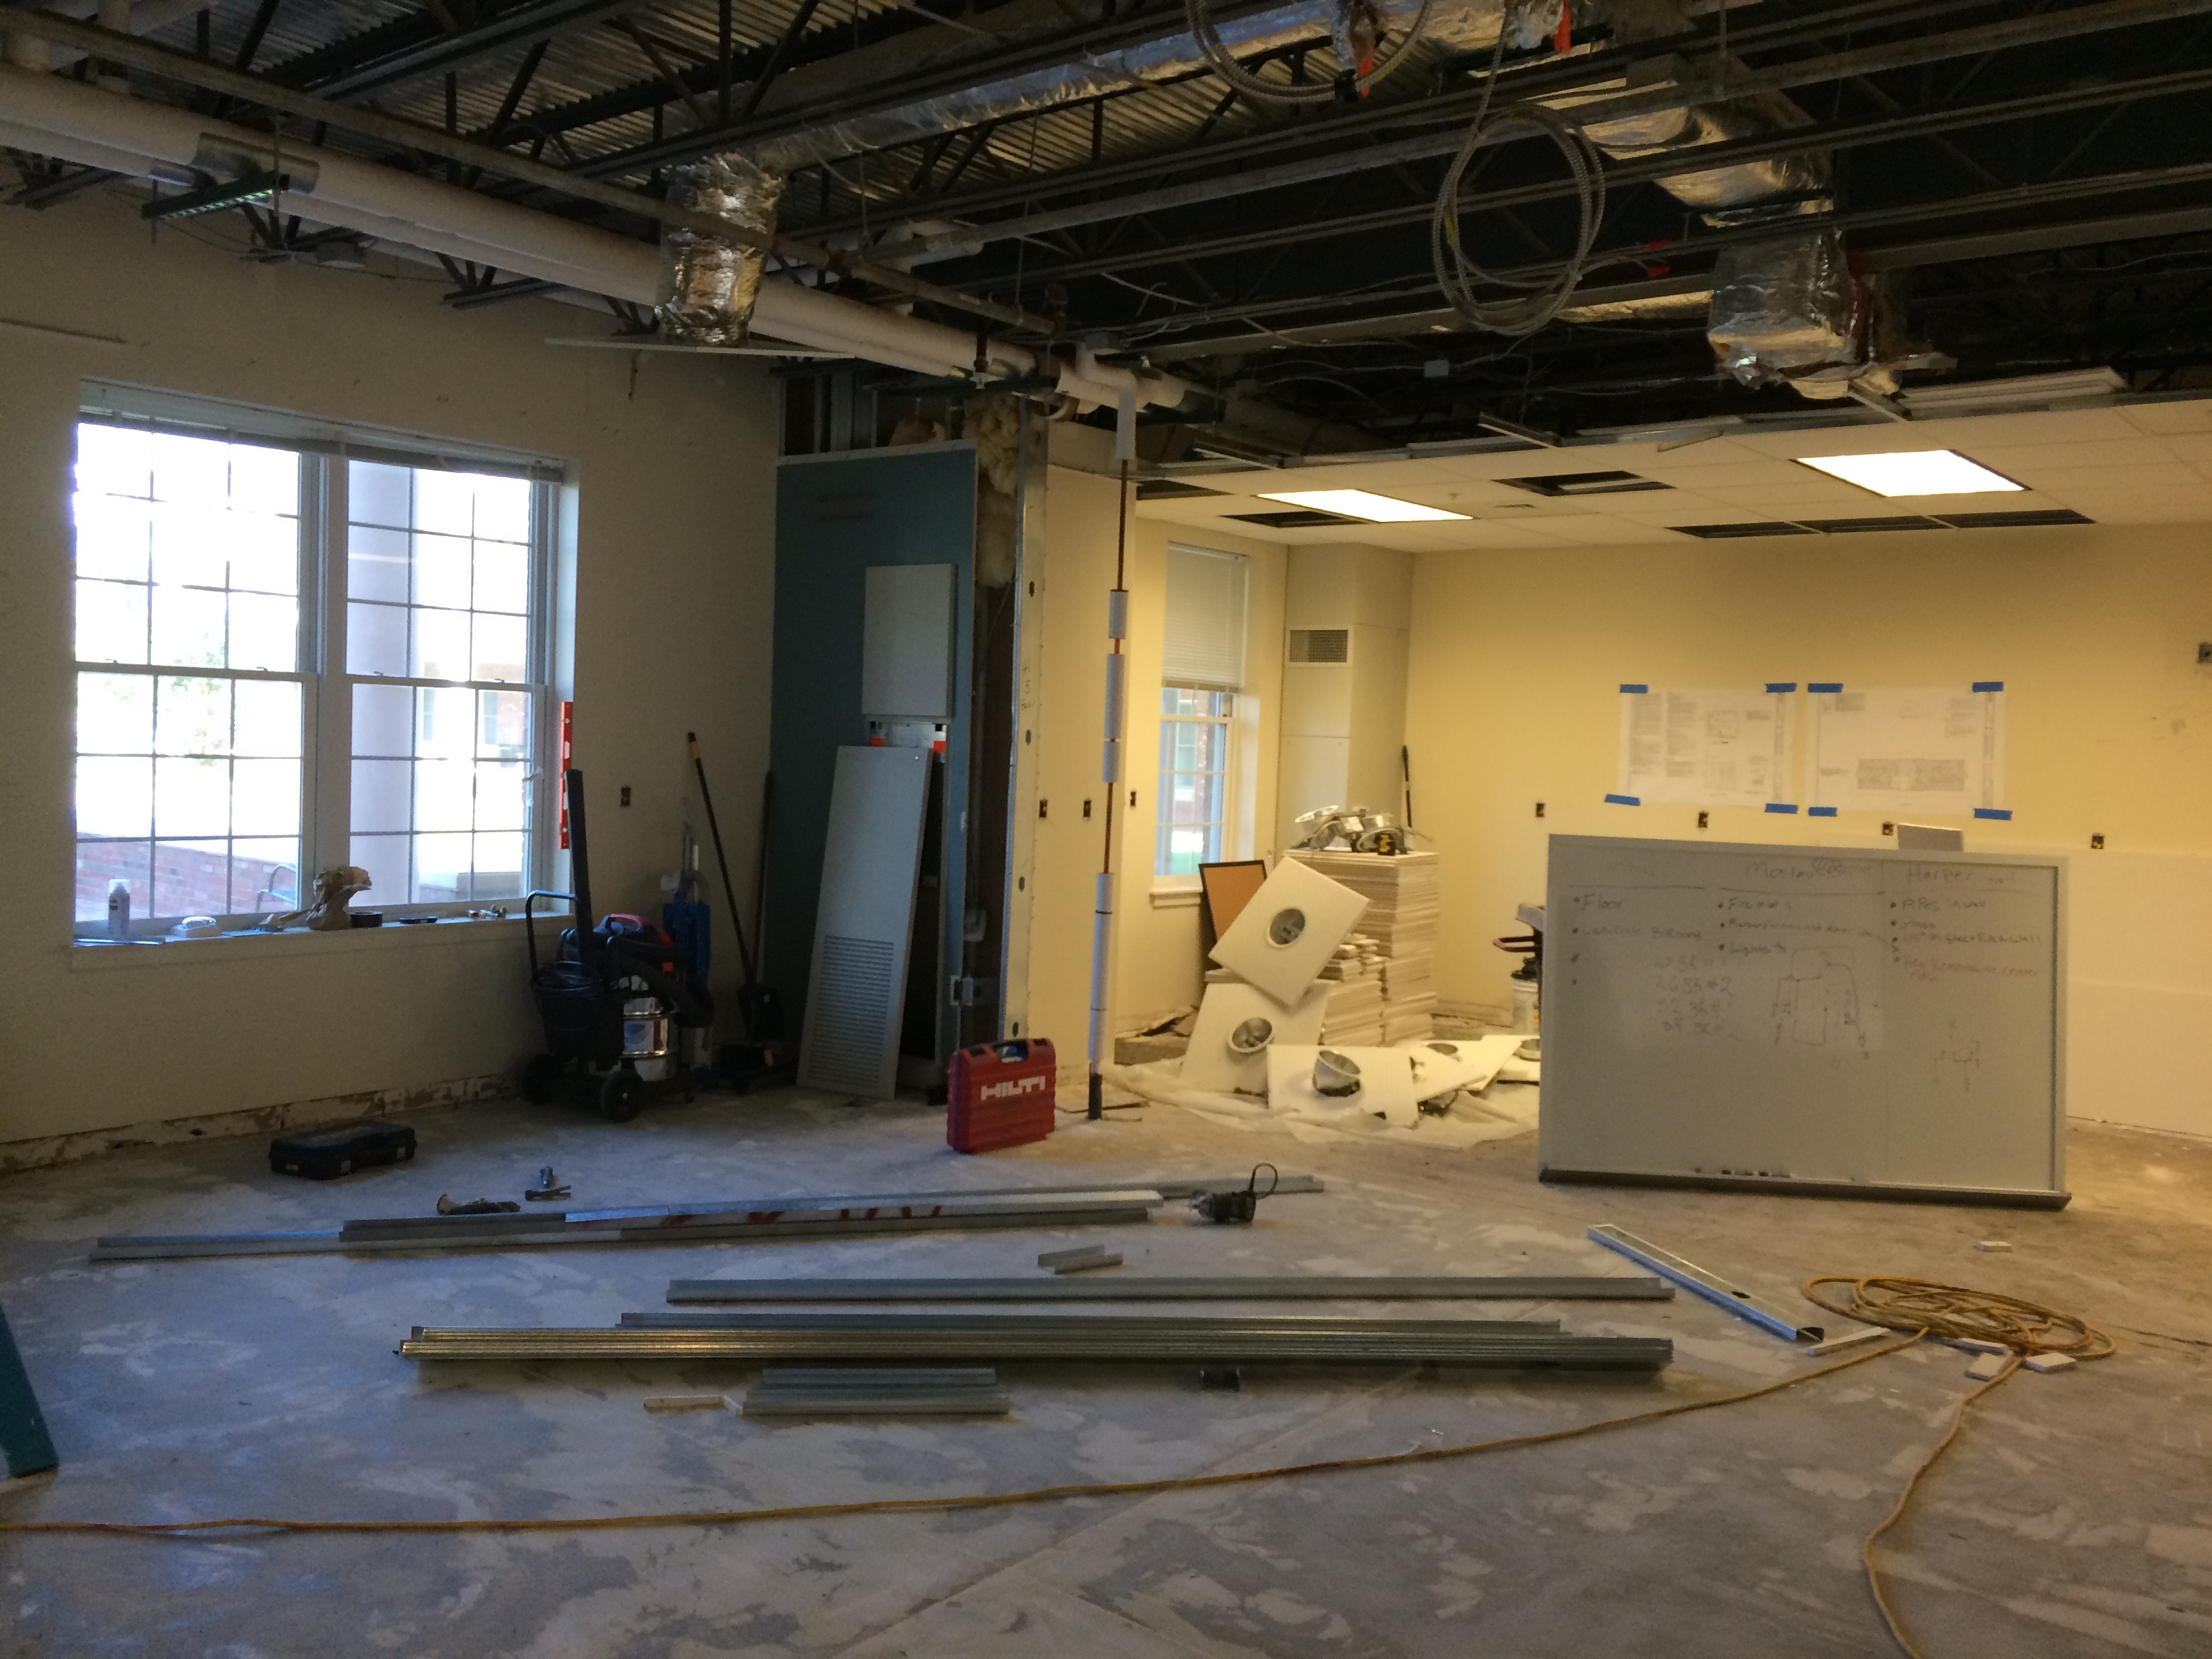
Construction underway
The construction crew has already made a lot of headway on the Maker Hub! Ceilings and floors have been removed so that our ceiling mounted extension cords and extra durable flooring can be installed, and the overall shape of the space is really starting to pop out. Still to come are wall mounted USB outlets, some awesome cabinet and shelving space, reconfigurable workbenches, and a 70 inch display with wireless video streaming!! Check weekly for updates on our progress as we get the space ready to debut this fall.
 Follow