Best Practices with DIY Video: LIGHTS!
 Do you record your own videos for class? Do you want them to look better? This is part one of a series on recording great videos. The first section, LIGHTS!, will focus on setting up your lights to make you look even better. We’ll follow it up with CAMERA!, a brief overview on setting up your camera and background. Finally, ACTION! will share ideas that will help with the actual process of recording.
Aside from audio, proper lighting is the most important element of any recorded video. While you likely don’t have access to professional studio lights, there are some simple techniques you can use to take advantage of the lights around you.
Lights in front, not behind
When it comes to lights we can place or move, typically a table or floor lamp, we tend to place them behind where we sit. This works from a practical standpoint because it illuminates the things in front of us (it’s useful for reading books, for example). However, having your primary light source behind you can ruin the quality of a recorded video. This happens because the primary light source is not illuminating the important part: Your face.
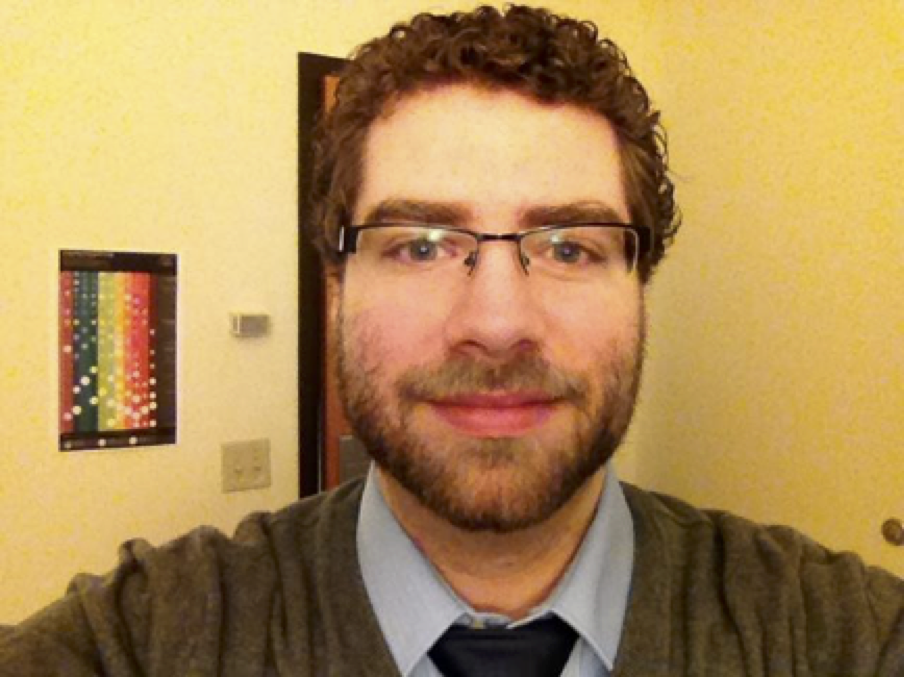
Here are two photos I took in my old office. The only lighting was a simple floor lamp. Both photos were taken with the front camera on an iPhone 4S, and have not been edited in any way.
Light source behind me:
Light source in front of me (I stayed in the same spot and turned around):

There are substantial differences between these two. Take note of the following in particular:
- The definition of my hair (substantially better in the second photo)
- The color of my eyes (impossible to identify in the first photo)
- The background (washed out in the first photo)
While neither photo is ideal, you can see there is a significant difference when your lighting is in front of you. However, you should also avoid placing your light source directly in front of you. In the second photo above, my light source was directly in front of me. While it illuminated my face better than the lighting in the first photo, it also washed out my complexion. This flattens my image (there’s no real depth), and makes me blend into the background. To make your lighting even better, I recommend you try to…
…Use a Three-Point Lighting Technique
For even better results, you’ll need to track down additional light sources to set up a Three-Point Lighting system. Three-Point Lighting systems are commonly used by photographers and videographers, and would be the easiest system to attempt setting up in your home or office.
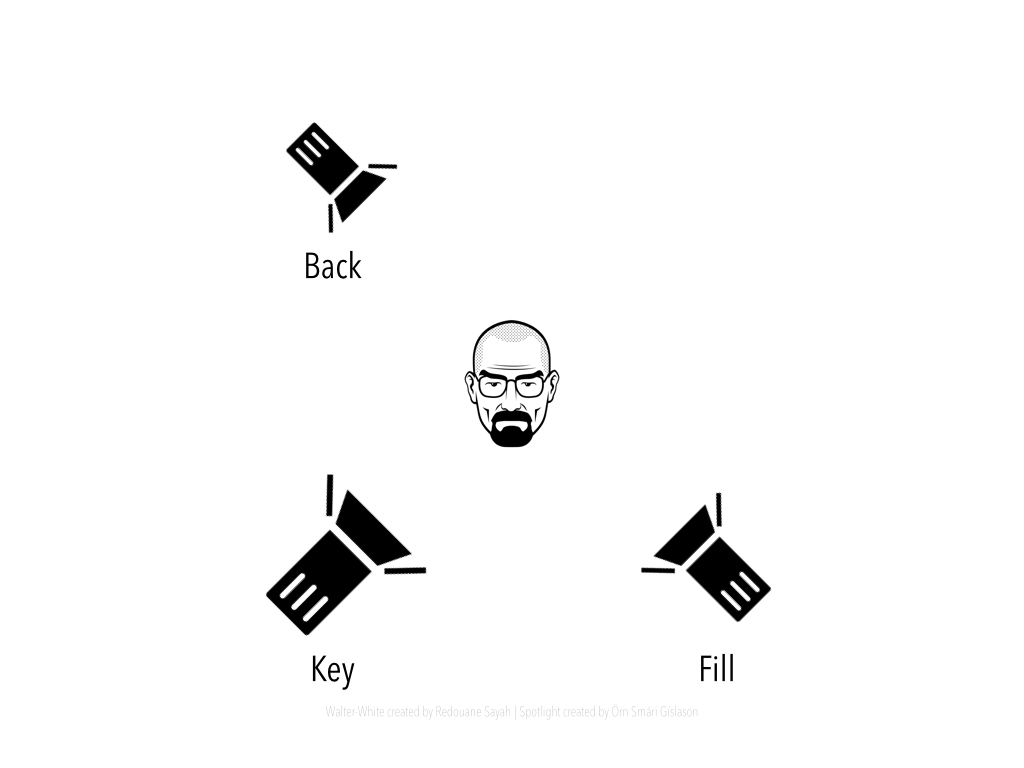
A Three-Point Lighting system uses, well, three different points of light to illuminate the camera’s subject (that’s you!). Those lights are:
The Key Light: This is your primary light, and and should be the strongest one in your setup. You should place your Key Light first because it has the greatest influence over your setup. Key Lights are generally placed in front of the subject (you), and off to the side. One side of your face should be well lit, while the other has a bit of a shadow. You can use the shadow on your nose as visual marker.
The Fill Light: This is a complement to the Key Light. The Fill Light is often placed in front of the subject on the opposite side of the Key Light (so it shines on the side with the shadows). The Fill Light’s purpose is to soften the shadows created by the Key Light, which will reduce the contrasts on your face that may not come across well in video. It is softer and less powerful than the Key Light (if you can’t find a softer or less powerful light, you can always just move a strong light further away from you to reduce its influence). While Key Lights are usually powerful and focused, the Fill Light can be softer and wider (like a torchiere lamp).
The Back Light: Back Lights are used to softly illuminate the subject from behind, and is the weakest of the three lights. The Back Light creates a thin rim of light around the subject, which helps separate them from their background. Basically, it helps you look more three-dimensional. The Back Light works well when placed directly across from the Fill Light, and it is often placed lower (sometimes on the ground).
I recommend against relying on overhead lights for any part of your setup, which can overexpose your image and cast unnatural shadows on your face.
In practice, a basic three-point lighting setup would look something like this:
You can learn more about a three-point lighting setup at http://www.mediacollege.com/lighting/three-point/
Proper lighting can have a huge influence on the perceived quality of your video recordings. This lighting setup is very easy to replicate at home using a few simple lamps and floor lights.
In the next part of this miniseries, CAMERA!, I’ll share some practical advice for setting up and using a camera to record yourself on video.
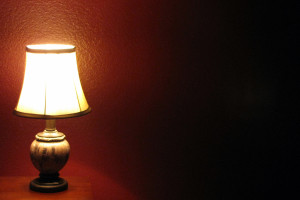
Image by Flickr user jasleen_kaur / Creative Commons licensed BY-SA 2.0


 Follow


