
Bridget Hurley ’15
Hanging indents may not be the most captivating subject to blog about. But understanding how, why and when to use hanging indents is an important part of being a successful writer, especially when creating bibliographies. Check out these three sample bibliographies. They are written in APA, MLA, and Turabian style:
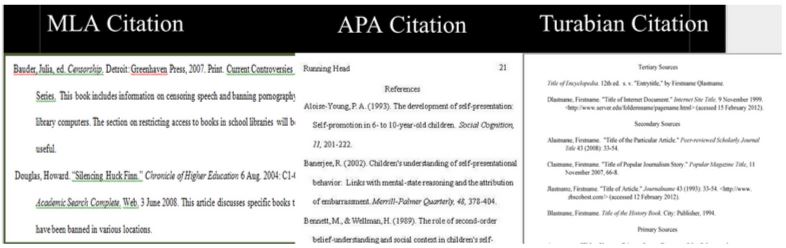
You can see that every reference style utilizes hanging indents for bibliographies. It allows readers to visually distinguish when you move from one piece of information to the next.
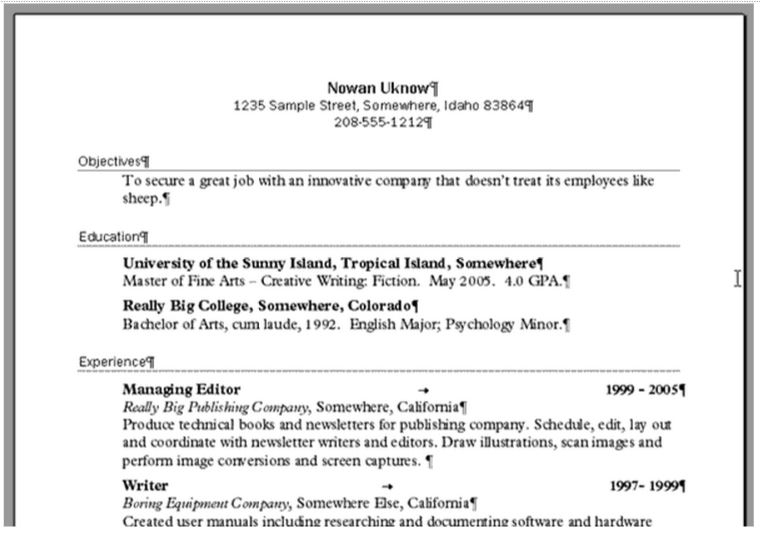
Hanging indents can also be used in resumes. In the context of CRAP (contrast, repetition, alignment, and proximity), hanging indents can help a lot with alignment and proximity. Below is an example resume that uses hanging indents to transition from the title of each section to more specific and detailed information. Check it out here:
Writers and researchers definitely need to understand how to use hanging indents in both Microsoft Word and in Google Docs. Here are the steps you need to know to create hanging indents on both interfaces.
Google Docs
You use the ruler to create hanging indents in Google Docs. You will see an hourglass shape at the top of the document:
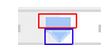
The rectangle at the top, highlighted in red, is your first line indent. The triangle on the bottom, highlighted in blue, is your left indent. These tools are essential to beginning your hanging indents.
1) Highlight the text you would like to format, or leave the document as-is if you would like the entire document to be formatted.
2) Drag your left indent to where you would like your text to be. You will notice that the first line indent will come along for the ride and move dependently with the left indent.
3) Then, drag the first line indent to the left on the ruler. The left indent will remain in place and you will be left with a hanging indent. Once you drag over the first line indent, your ruler should look like this:
![]()
4) Your document or the selected text will be formatted with hanging indents.
Microsoft Word
Creating hanging indents on Microsoft Word is a bit more complicated than Google Docs when using the ruler. The preferred method of creating hanging indents is using the Paragraph Menu in Word.
1) Highlight the text you would like to format, or leave the document as-is if you would like the entire document to be formatted.
2) Go to the format tab at the top of the program and select “paragraph”. You will see this menu:
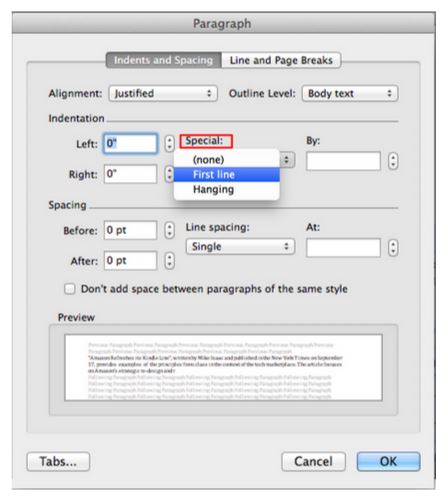 3) Under “special”, select what type of indent you would like to have. In the “by” bar, select the amount you would like your text to be indented.
4) Click “OK”. Cherish your perfectly indented document.
 Follow